First Launch
When you open Masterplan Optimiser for the first time you will land on the Project Hub - the home screen that lists all your events. This guide walks you through creating your first event and navigating the main interface.
The Project Hub
The Project Hub is your central dashboard. It displays all saved events as cards, each showing the event name, date range, and a summary of people, groups, and tasks. On a fresh install the hub is empty and prompts you to create your first event.
Creating Your First Event
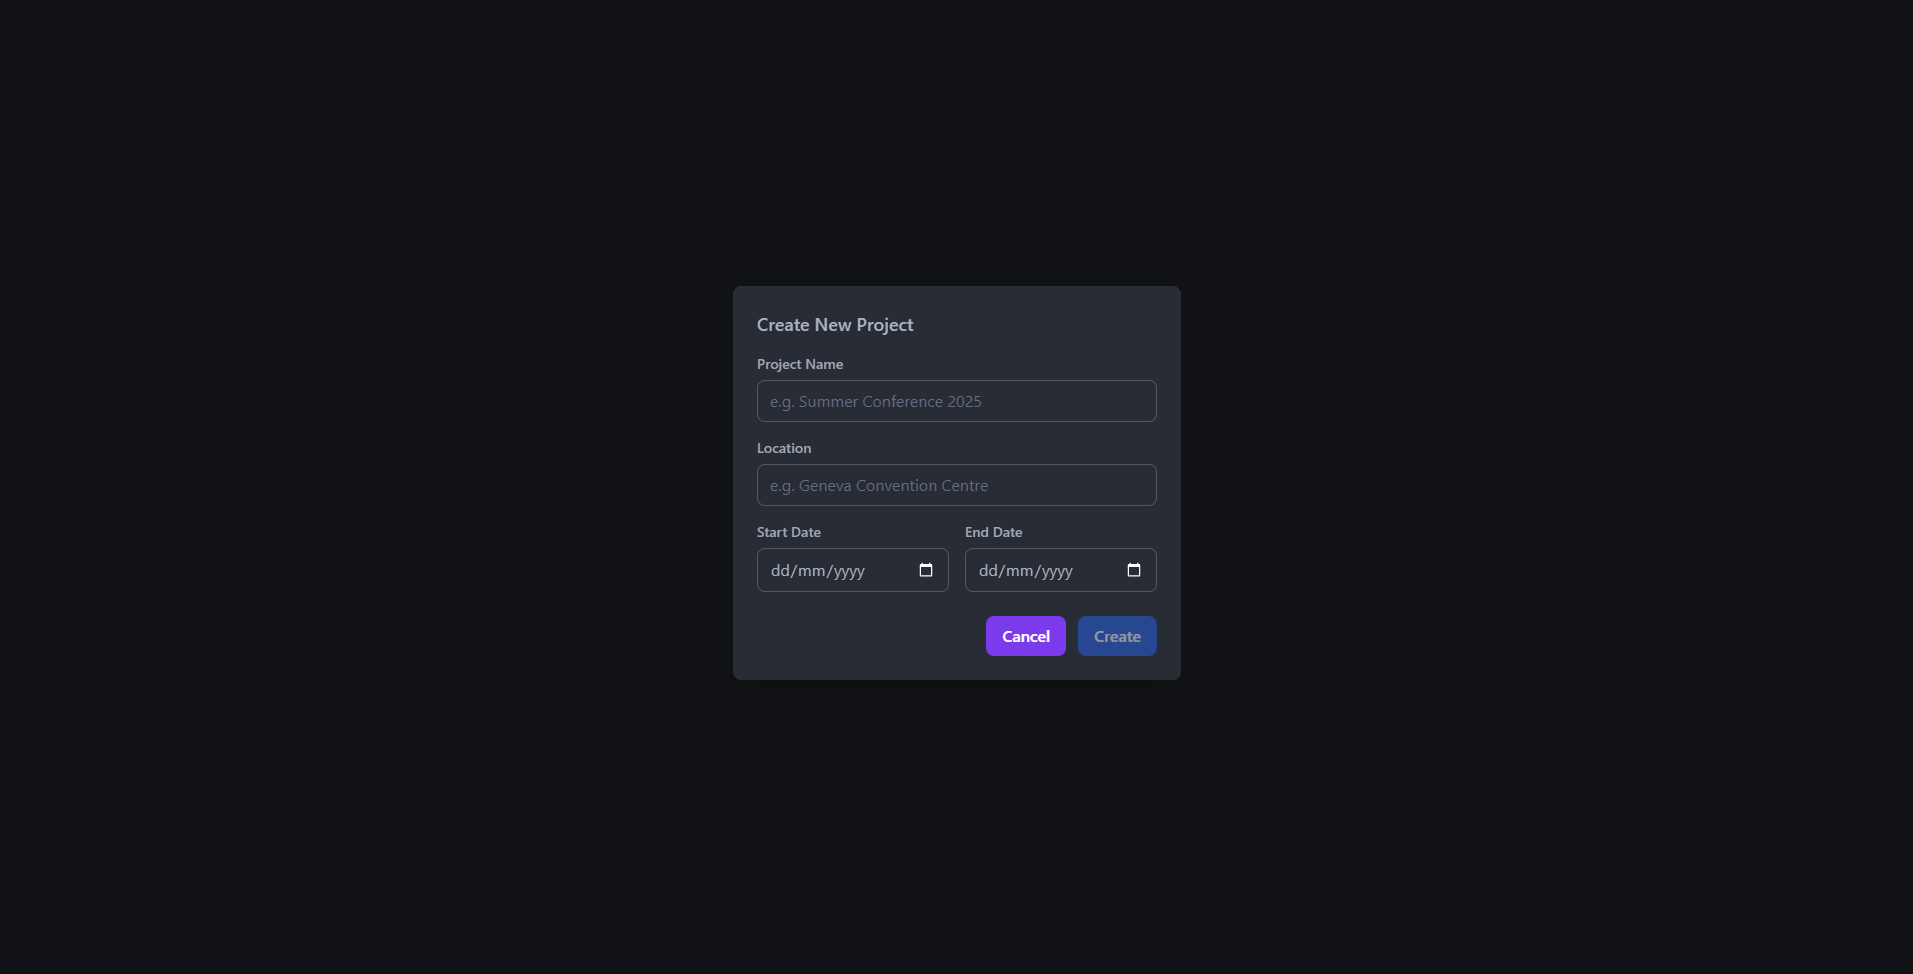
Click the Create Event button in the top-right corner of the Project Hub. A dialogue appears asking for:
- Event name - a short label such as “IPC Geneva 2026”.
- Start date and End date - the date range of your event. Each date becomes a “day” that you can later assign aliases to (e.g. “Build Day 1”, “Show Day”).
Once you confirm, the event is created and you are taken straight into the Dashboard.
The Dashboard
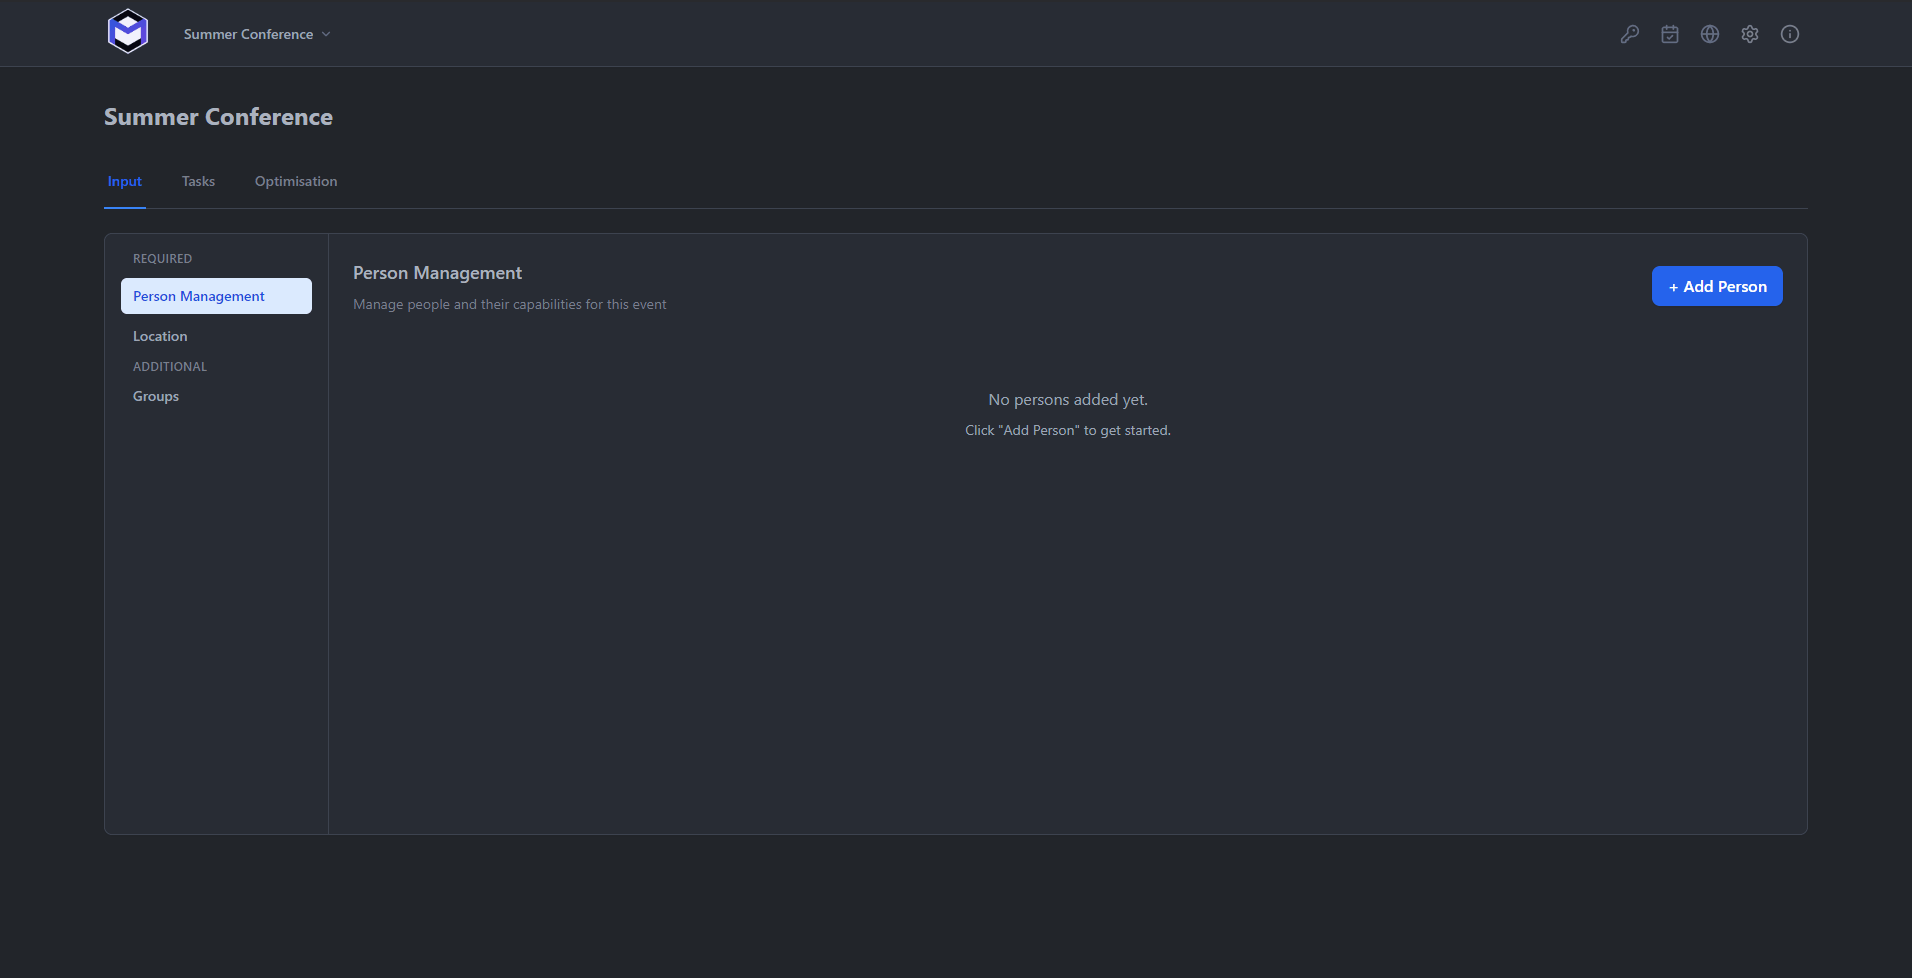
The Dashboard is the main workspace for an event. It is organised into three tabs across the top:
- Input - define your people, groups, capabilities, locations, and task types.
- Tasks - build the actual tasks (jobs) that need to happen, using the Task Builder and the Calendar Matrix Interface (CMI).
- Optimisation - run the solver, review the optimised schedule, and publish to Google Calendar.
Sidebar Navigation
The left sidebar provides quick access to every section. The sidebar icons adapt depending on which dashboard tab you are on:
- Home - back to the Project Hub
- People, Groups, Capabilities, Locations - quick links into the Input tab
- Task Builder, CMI - quick links into the Tasks tab
- Optimisation, Results, Publishing - quick links into the Optimisation tab
- Settings - application and event configuration
Loading a Demo Dataset
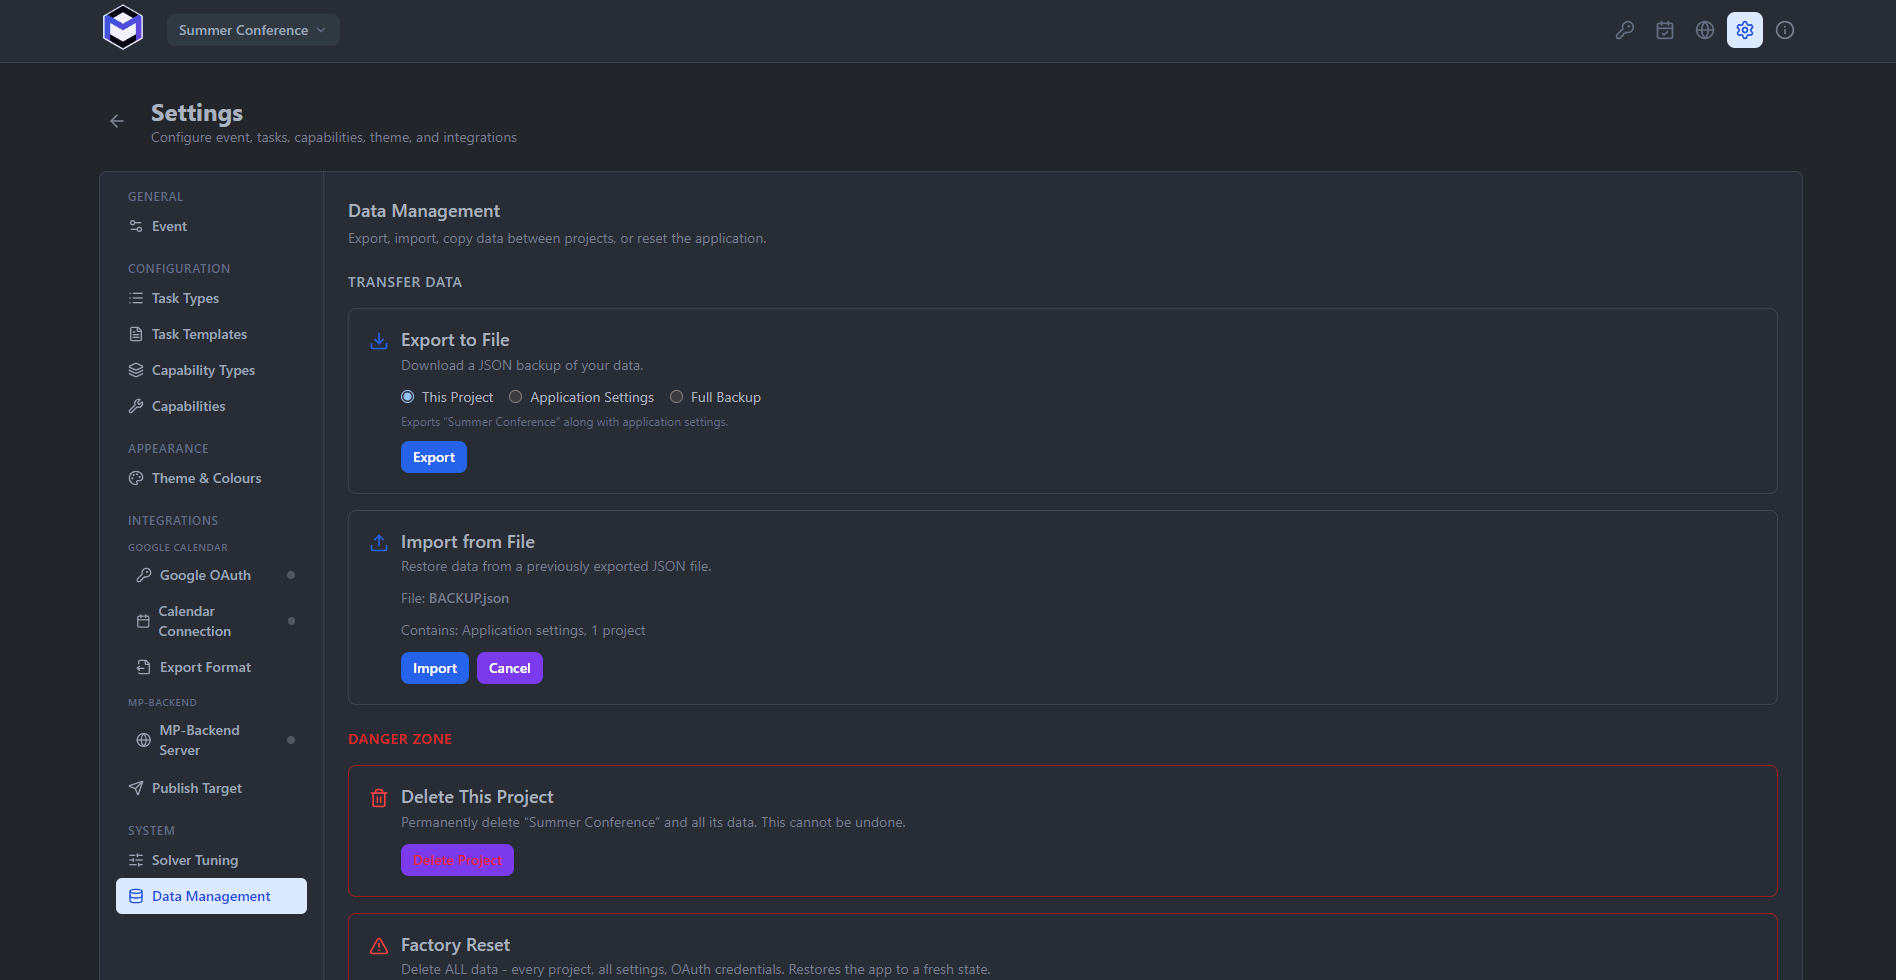
If you want to explore the application without entering your own data, you can import one of the included demo files:
- From the Project Hub, click the Import button.
- Select a
.jsonbackup file (a demo file may be bundled with your installation or available from the Downloads page). - The event, including all people, groups, tasks, and schedule data, will be imported and appear on the Project Hub.
Next Steps
Now that you have an event open, follow the Quick Start Guide for a step-by-step walkthrough from adding people to running your first optimisation. Or, explore the core Concepts to understand how the data model fits together.