
View my schedule
Install the web calendar
Install the web calendar as a Progressive Web App (PWA) when you want a dedicated icon and app window on this device. Offline schedule storage and push notifications remain separate choices; installation alone does not enable them.
What is a PWA?
A Progressive Web App is a website that can be “installed” on your device. It opens in its own window (without the browser address bar), can work offline, and supports push notifications. No app store download is required - you install it directly from the browser.
Check what you need
- A server instance must be running and accessible over HTTPS (see Server Installation).
- You need the server URL from your coordinator or server administrator (e.g.
https://mp-opt.net). - An activation link or QR code from an admin to create your account.
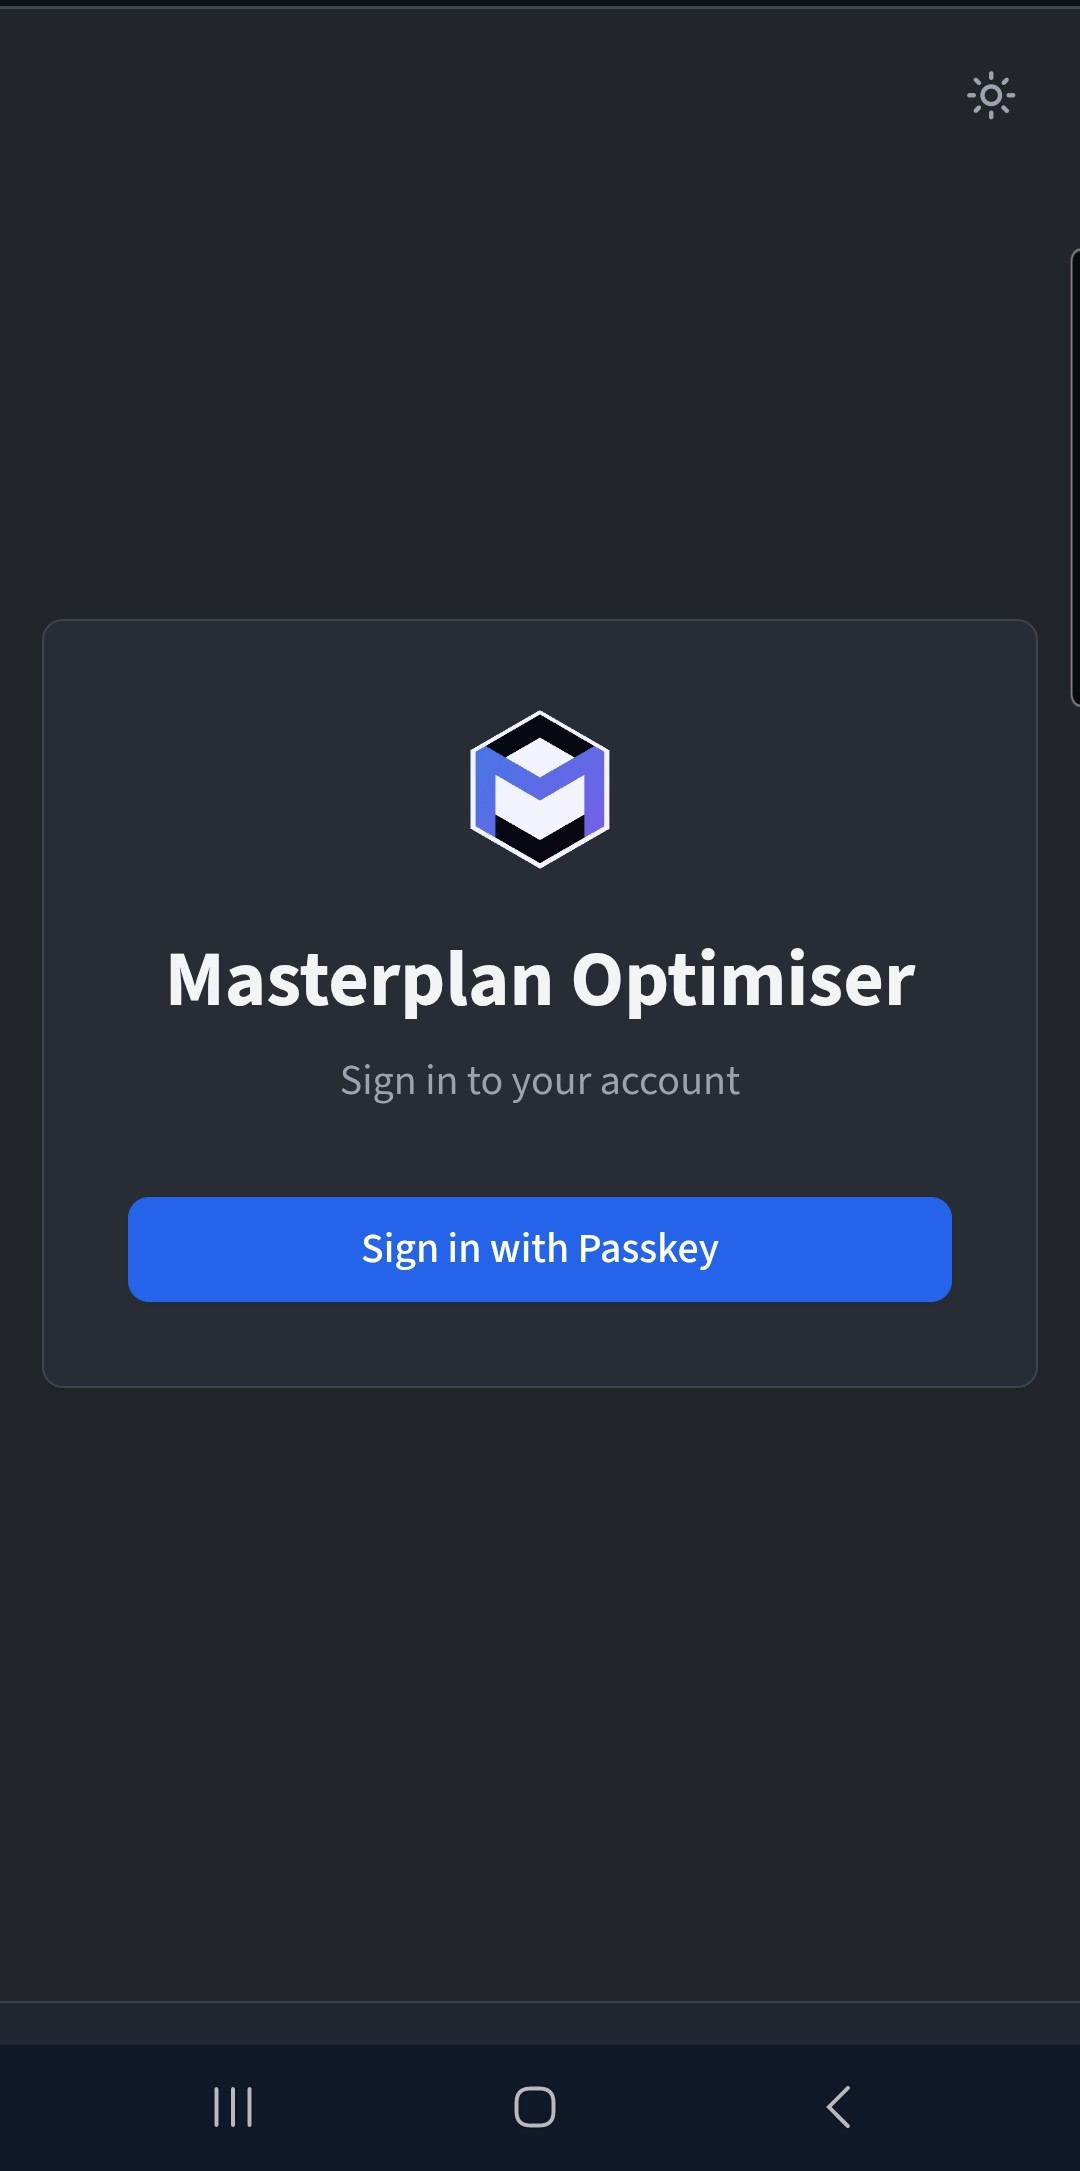
Step 1 — Open the web calendar
- Open Safari (iOS) or Chrome (Android / Desktop) on your device.
- Navigate to the server URL provided by your administrator (e.g.
https://mp-opt.net). - If you have an activation link, open it directly - it will take you to the registration page.
Step 2a — Install on iOS
- Open the web calendar in Safari. (PWA installation only works from Safari on iOS.)
- Tap the Share button at the bottom of the screen (the square with an arrow pointing up).
- Scroll down in the share sheet and tap Add to Home Screen.
- Choose a name (the default is fine) and tap Add.
- The app icon now appears on your home screen. Tap it to open the calendar in its own window.


Step 2b — Install on Android
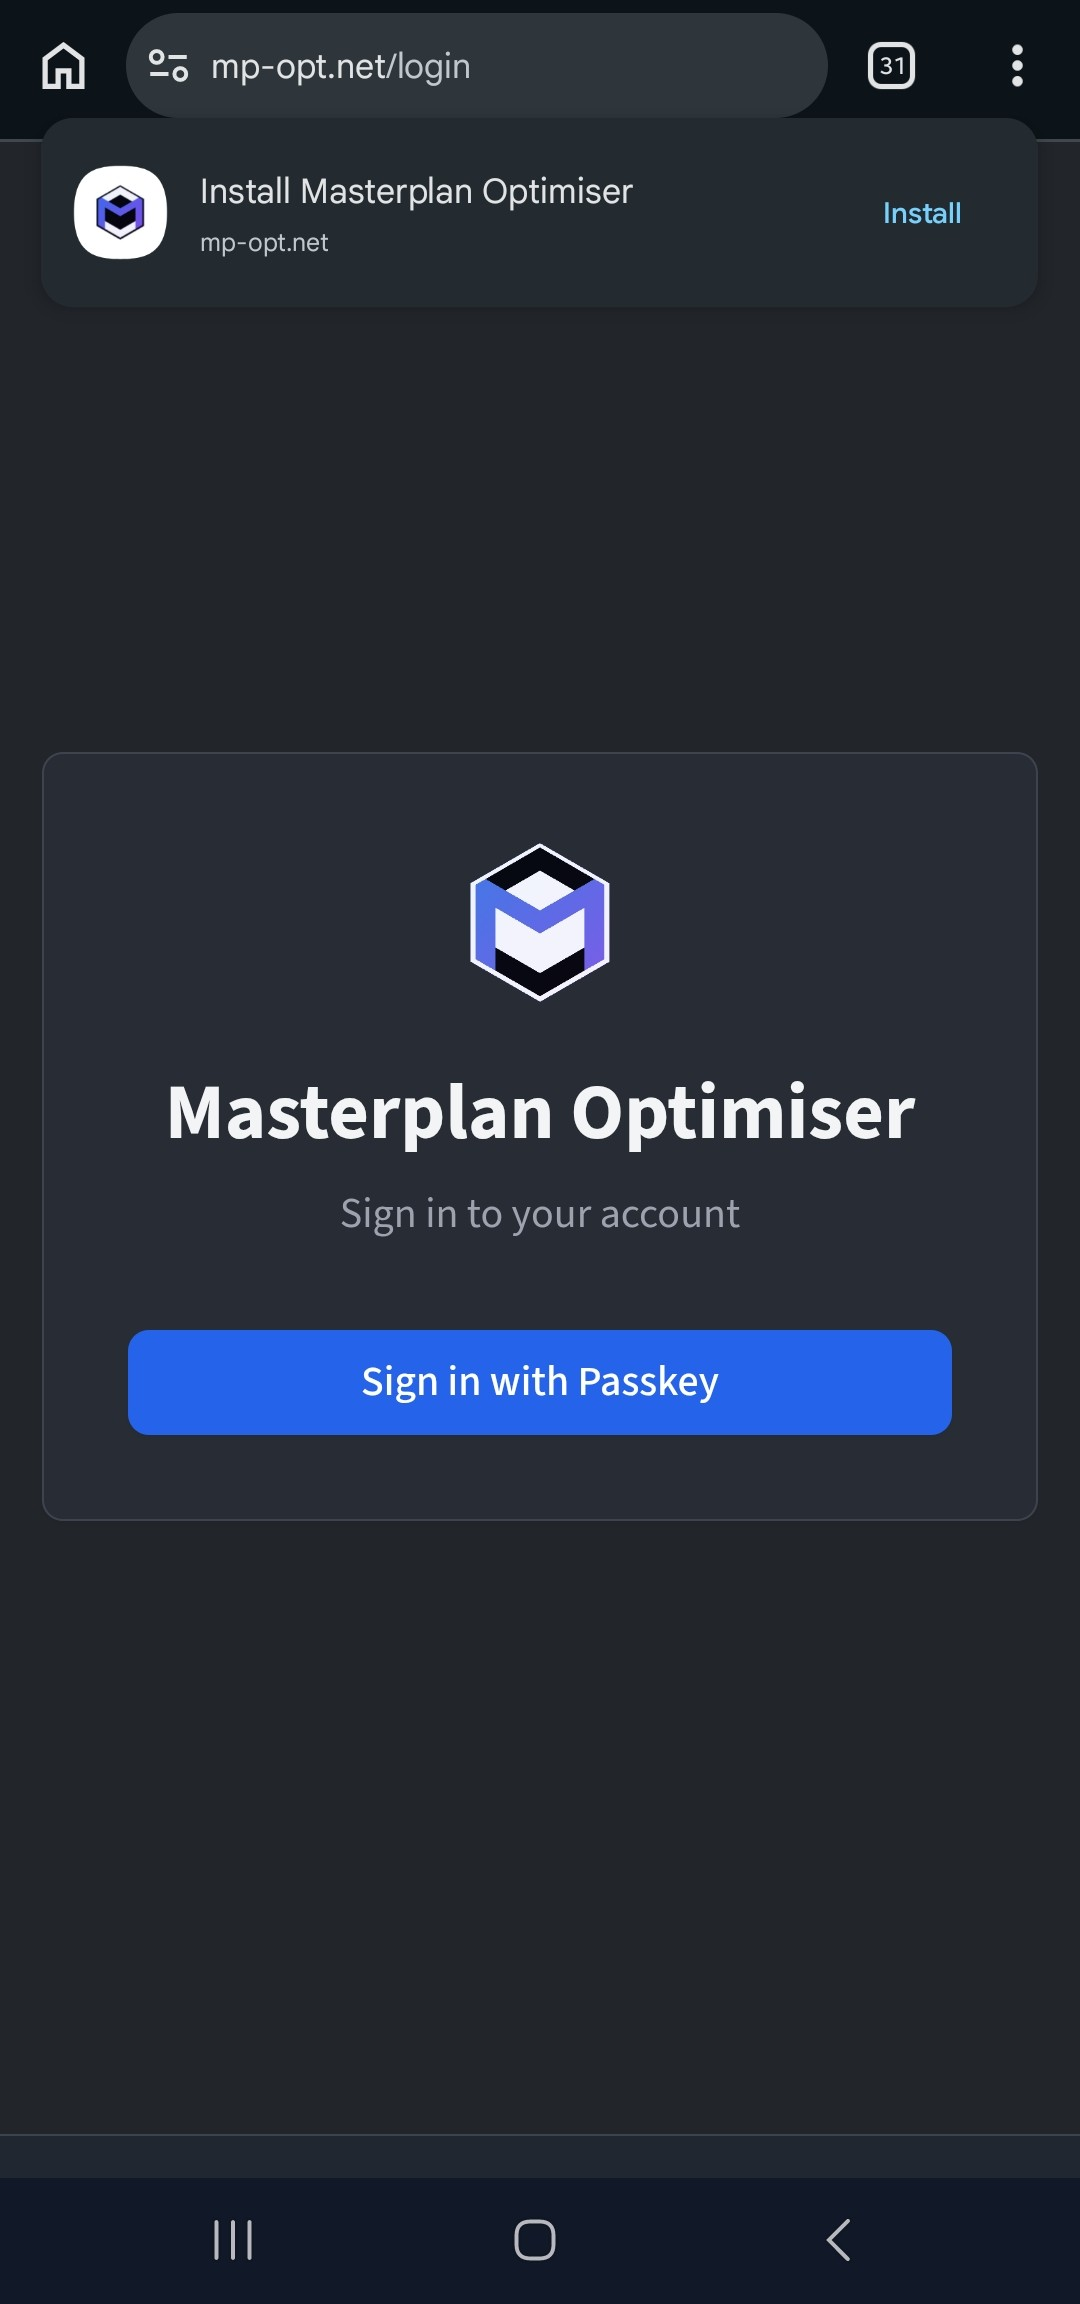
- Open the web calendar in Chrome.
- Chrome will show an Install app banner at the bottom of the screen. Tap Install.
- If the banner does not appear, tap the three-dot menu in the top-right corner and select Add to Home screen or Install app.
- Confirm the installation. The app icon appears on your home screen and in your app drawer.
Step 2c — Install on desktop Chrome or Edge
- Open the web calendar in Chrome or Edge.
- In the address bar, look for the install icon (a monitor with a down arrow or a + icon).
- Click Install in the prompt.
- The calendar opens in its own window and appears in your taskbar / dock and app list.
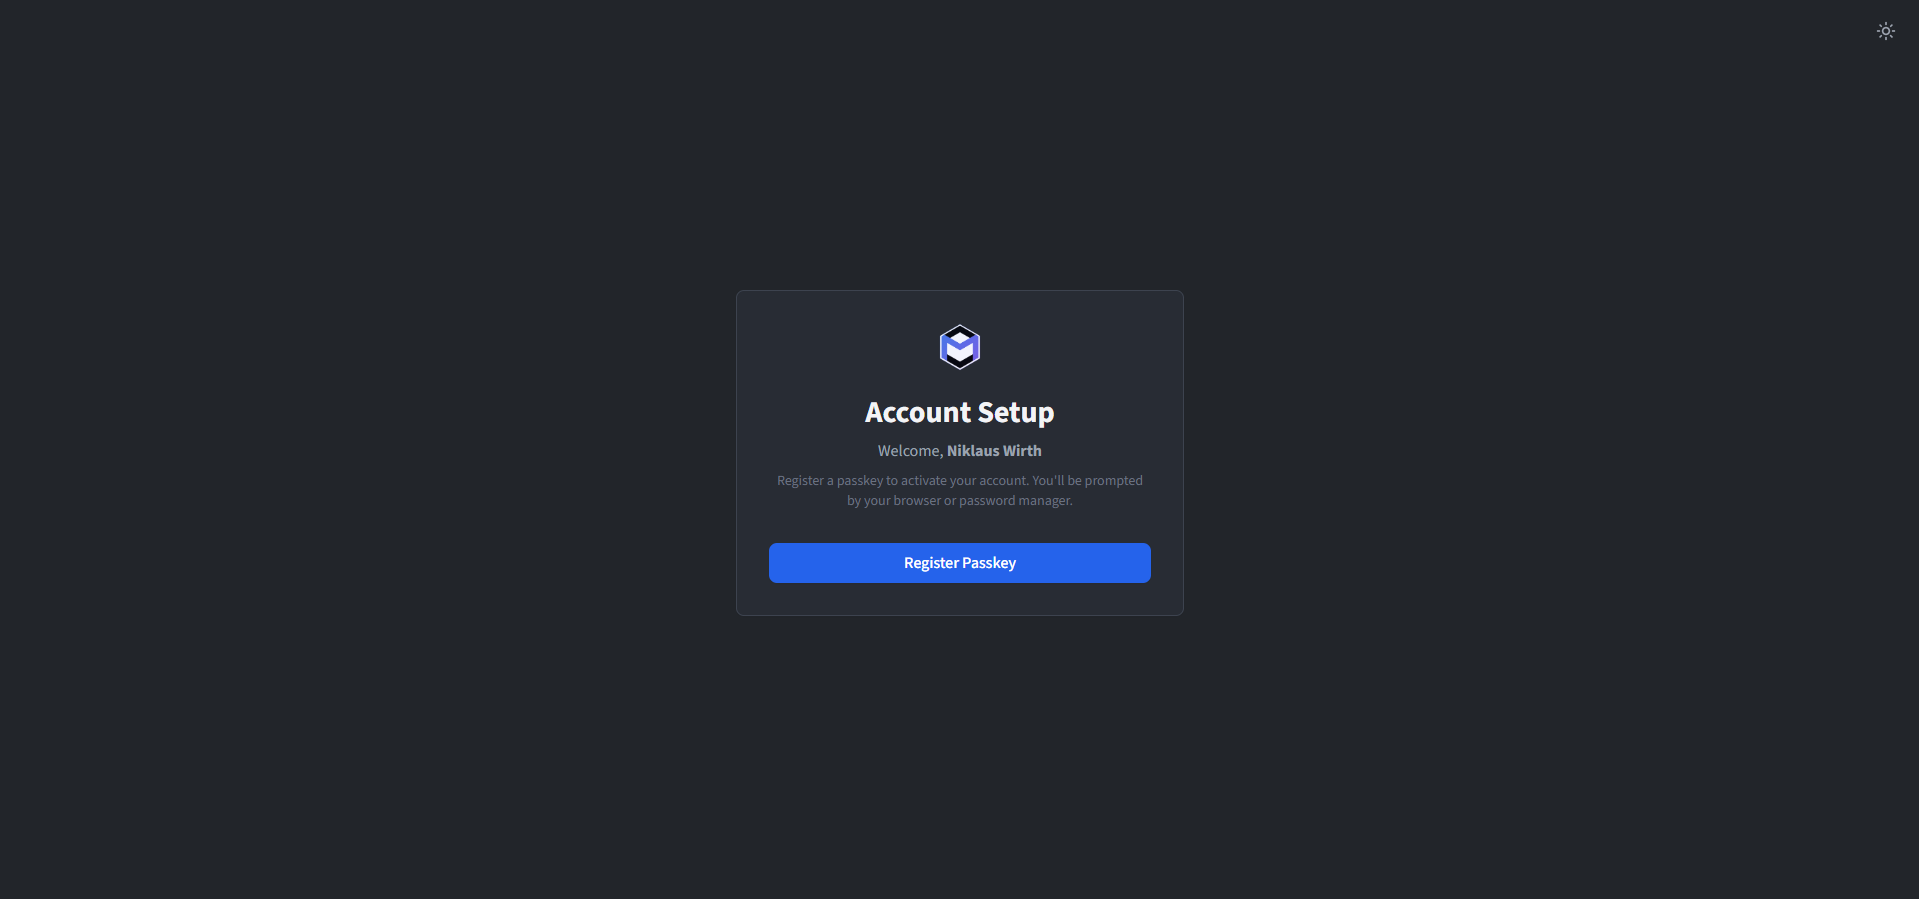
Step 3 — Register the account
- Your server administrator will provide an activation link or a QR code. Open the link or scan the QR code with your phone.
- The activation page will ask you to register a passkey (Face ID, fingerprint, or security key). This replaces traditional passwords.
- Once registered, you are logged in and can view your schedule.
- For future logins, open the app and authenticate with your passkey - no username or password needed.
Step 4 — Enable push notifications (optional)
- After logging in, you may see a notification bell icon or a prompt to enable notifications.
- Tap Allow when your browser asks for notification permissions.
- You will now receive push notifications for schedule changes and announcements from the Head-Organiser.
Push notifications require the server to have VAPID keys configured. If notifications are not available, your server administrator may need to enable them (see Server Installation - Web Push).
Choose whether to keep an offline schedule
On a phone-sized screen, offline storage is an optional choice. Open More to download, refresh, or remove the bounded copy kept by your browser. The calendar is only described as available offline after the download has been validated and written successfully. A newly published governance version must first disclose that the copy contains names attached to authenticated task allocations. The Server then asks you to enable storage again instead of silently broadening an older opt-in. The copy expires within the Server's limit and is also removed on logout or after a successful removal request.
Wide-screen use does not offer or refresh offline storage. It continues to use the live Server view; a copy previously stored by the same browser keeps its original expiry and is not silently extended.
Remove the installed app
iOS
Long-press the app icon on your home screen and tap Remove App (or Delete Bookmark).
Android
Long-press the app icon and drag it to Uninstall, or go to Settings → Apps and uninstall from there.
Desktop (Chrome / Edge)
Open the installed app, click the three-dot menu in the title bar, and select Uninstall.
Resolve an installation problem
“Add to Home Screen” option not visible (iOS)
Make sure you are using Safari. Other browsers on iOS (Chrome, Firefox) do not support PWA installation. Also ensure you are accessing the site over HTTPS.
Install banner not showing (Android)
Chrome only shows the install banner after you have visited the site a couple of times. Use the three-dot menu → Install app as an alternative.
Push notifications not working
Check that you have allowed notification permissions for the app in your device settings. On iOS 16.4+, push notifications are supported for PWAs added to the home screen - make sure you installed through Safari first.
Activation link expired
Ask your administrator to generate a new activation link or QR code. Links are single-use and expire after a set period.
Continue from here
- Viewing Your Schedule - learn how to navigate the web calendar
- User Roles - understand the different access levels