
Manage events and people
Manage published events
The Events tab keeps the Server-side lifecycle of each events visible. Create or import an event only when its controller and Desktop connection are understood; use the deletion workflow when operational or identity history prevents immediate removal.
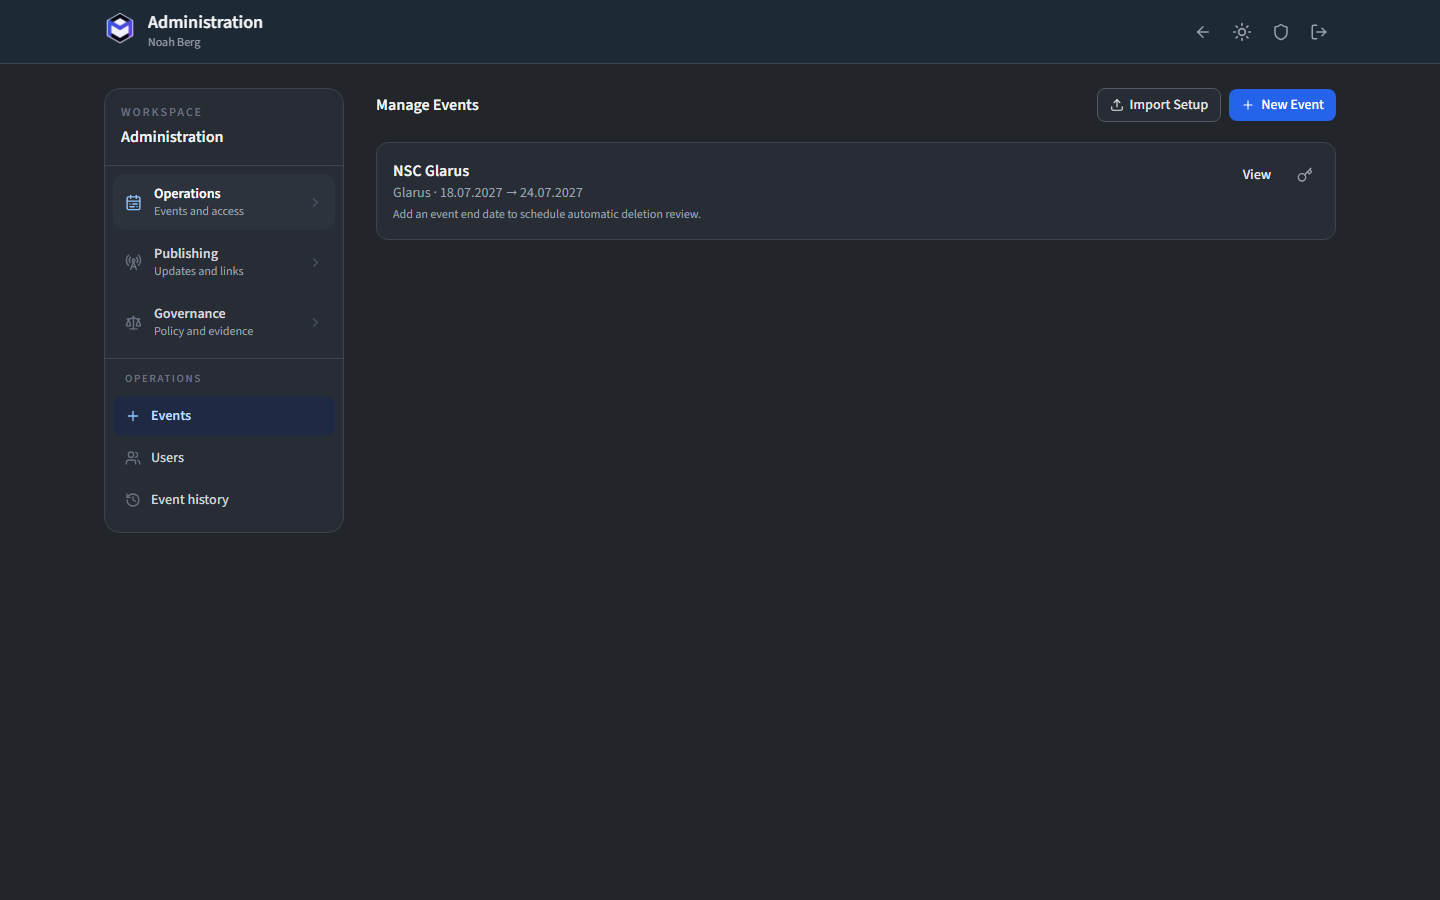
Read the event list
Each event card shows the event name, dates and the number of published tasks and persons. Click an event card to set it as the active event.
Create an event
Click Create Event and fill in the event name, start date and end date. The new event appears in the list immediately.
Tip: Events created on the server are typically populated by publishing from the desktop application.
Import an event
Use Bulk Import to upload a JSON file containing one or more events together with their persons and tasks. The import validates the data and reports any errors before confirming.
Handle publish secrets
Each event has a Publish Secret - a token that the desktop application uses to authenticate when publishing. The secret is generated when the event is created and can be regenerated at any time. Copy the secret and paste it into the desktop application's MP Backend settings.
Start event deletion
Click the delete button on an event card to remove it. A confirmation dialog appears listing all data that will be deleted, including associated users, snapshots and announcements.
Warning: Deleting an event removes all related data permanently. Users linked to the event will lose access to their schedules.